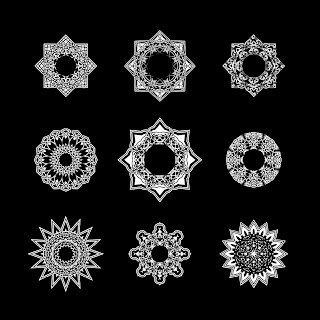
Check it, and the crazy Deco images below...

The procedure:Illustrator part
- Draw a circle (square, octagon, anything, that looks good and symmetrical considering each axis if you rotate the image with 22.5 degrees)
- Wundes / Fleurify with (mostly every time) more than 100
- Pathfinder / Divide
- Ungroup
- Wundes / ArcTwister (now you have to experiment with it, sometimes undo, then again...)
- Group all
- Apply style: appearance with a 3pt white stroke and a 9pt black one
- Export as PSD (surely you can flatten the image, the PS-part is based on whole layers, not just the illustration outline)
Photoshop part
- Open as RGB and if it is not flat, flatten the image (so that the background would be white against a black illustration)
- Create a layer from the background
- Duplicate it
- Rotate the duplication with 45 degrees
- Set it to difference blend mode
That's all. I sometimes played with a "double-set" -- that means I duplicated the whole layer set in Photoshop once again, merged them, rotated with 22,5 degrees and set its blend mode back to difference.
Jerry has some other cool images on his blog. It's in Hungarian, so I don't know what it says, but I do like the pictures...
cheers,
-J


No comments:
Post a Comment